Each month more and more applications are jumping on the two-factor authentication bandwagon, and rightly so. Two-factor authentication is an excellent security measure that helps to stop unauthorized logins into your accounts. Even if someone knows your password, they won’t be able to access your account without that second security code, which is accessible from a mobile device that only you should have.
Being someone who has had a couple accounts hacked in the past, I make sure to enable this security feature for every service that supports it.
Buffer is a popular social media scheduling tool that makes your life easier – especially if you regularly manage multiple social networking accounts. In the wake of their recent security breach, they’ve decided to add a new security featured called “2-step login.” When enabled, it will require you to enter an additional security code, received via SMS or Google Authenticator, before being able to access your account.
Here’s how to enable two-factor authentication in Buffer:
1. Log in to your Buffer account, if you aren’t already.
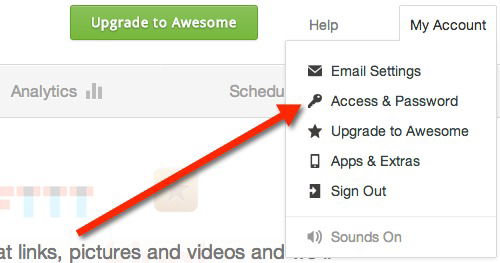
2. Click on “My Account” in the top right corner and then click on “Access & Passwords.”
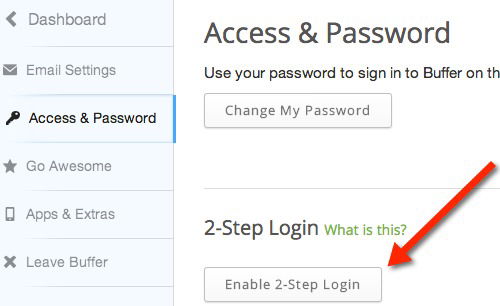
3. On the next page, click on the “Enable 2-step login” button; you will need to enter your password to continue.
4. Now you’ll be able to choose your preferred method for receiving security codes: via SMS text message or the Google Authenticator app (available for iOS and Android).
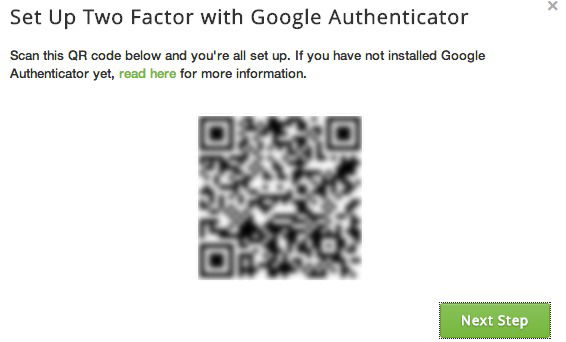
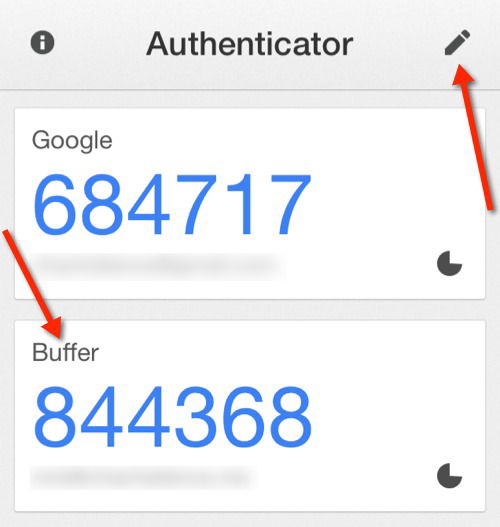
5. If you choose Google Authenticator like I did, you’ll then need to set it up by scanning the on-screen QR code from within the Google Authenticator app (tap the pencil icon -> tap the plus sign -> tap scan barcode).
6. Once this is complete, you’ll need to confirm that it’s set up correctly by entering a confirmation code generated by the Google Authenticator app (or via SMS if you’ve chosen that method).
7. Now, you’ll be asked to set up a backup phone number. It states that “this will be the device where we send verification codes each time you log into Buffer.” If all goes well, you should soon receive a text message at that number; you’ll need to enter that confirmation code as well. Note: I used a Google Voice number here and it worked fine.
8. A one-time recovery code will be displayed on the screen. You’ll need to make a note of it and save it in a secure location; if you’re using a password manager, this is a great place to save it (ie. as a secure notes). This is an additional security measure; if you happen to lose your phone then you can use this to login into your Buffer account and reset your 2-Step Login credentials.
You’ll now see under the “2-Step Login” section that you have it enabled along with the method you’re using and your backup phone number. Also, if you need to see your recovery code again, you can view it here. Plus, you’ll receive an email from Buffer letting you know that 2-Step Login has been enabled.
Buffer has stated in their blog that this feature also works if you have multiple team members set up (each with their own login). So, no matter who is accessing the account, it will be secure. This is also a safer method in general since you won’t be sharing the same password with multiple people.
Are you using Buffer? If so, do you plan on enabling this feature?